Helios Cron Tutorial — Simple Counter Example
This guide shows how to deploy a minimal smart contract on the Helios testnet and run it regularly via the Chronos Cron precompile. This is ideal for devs and testers who want to understand automated on-chain function execution.
Disclaimer: I’m not a developer myself, but I noticed many users struggling with the Chronos Quest. So I decided to share my working solution step by step, to help others complete it successfully. If you spot any mistakes or improvements, feel free to suggest them in the replies!
 What We’ll Build
 A simple contract that increments a counter (
tick())- A JavaScript script to register it with Helios Cron
- Observe regular Cron-triggered execution via logs
 Chronos is Helios’s built-in Cron system. It allows smart contracts to be executed automatically at a regular interval, without off-chain bots or user actions.
 Prerequisites
- Node.js v18+ is installed (Download here)
- Remix IDE to deploy the smart contract
- A Helios testnet wallet with a bit HLS for Gas costs
- Your private key (for the script)
- RPC:
https://testnet1.helioschainlabs.org
Step 1: Create the Smart Contract in Remix
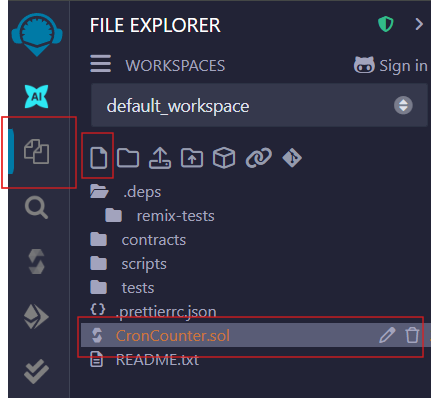
Open Remix and create a new file, e.g. “CronCounter.sol” :
Paste the following code (or your own code, there are many AI Tools that can help you ![]() ) in the text field on the right side:
) in the text field on the right side:
// SPDX-License-Identifier: MIT
pragma solidity ^0.8.0;

contract CronCounter {
    address public owner;
    uint256 public counter;
    uint256 public lastCalled;

    event Ticked(address indexed caller, uint256 newCounter, uint256 timestamp);

    modifier onlyOwner() {
        require(msg.sender == owner, "Not owner");
        _;
    }

    constructor() {
        owner = msg.sender;
    }

    function tick() public onlyOwner {
        counter += 1;
        lastCalled = block.timestamp;
        emit Ticked(msg.sender, counter, lastCalled);
    }

    function getInfo() public view returns (uint256, uint256) {
        return (counter, lastCalled);
    }
}
What This Contract Does
“CronCounter” is a minimal contract designed to be triggered regularly by the Helios Cron system.
- Each time
tick()is called, it increments a publiccounterand updates thelastCalledtimestamp. - Only the contract’s owner (you) can trigger it.
- The
Tickedevent makes it easy to verify automated execution on-chain.
This makes it ideal for demonstrating automated function calls via Chronos.
Step 2: Compile the Contract
- Switch to the Solidity Compiler tab
- Ensure version 0.8.x is selected
- Click Compile CronCounter.sol
(Link to picture 2 in the replies)
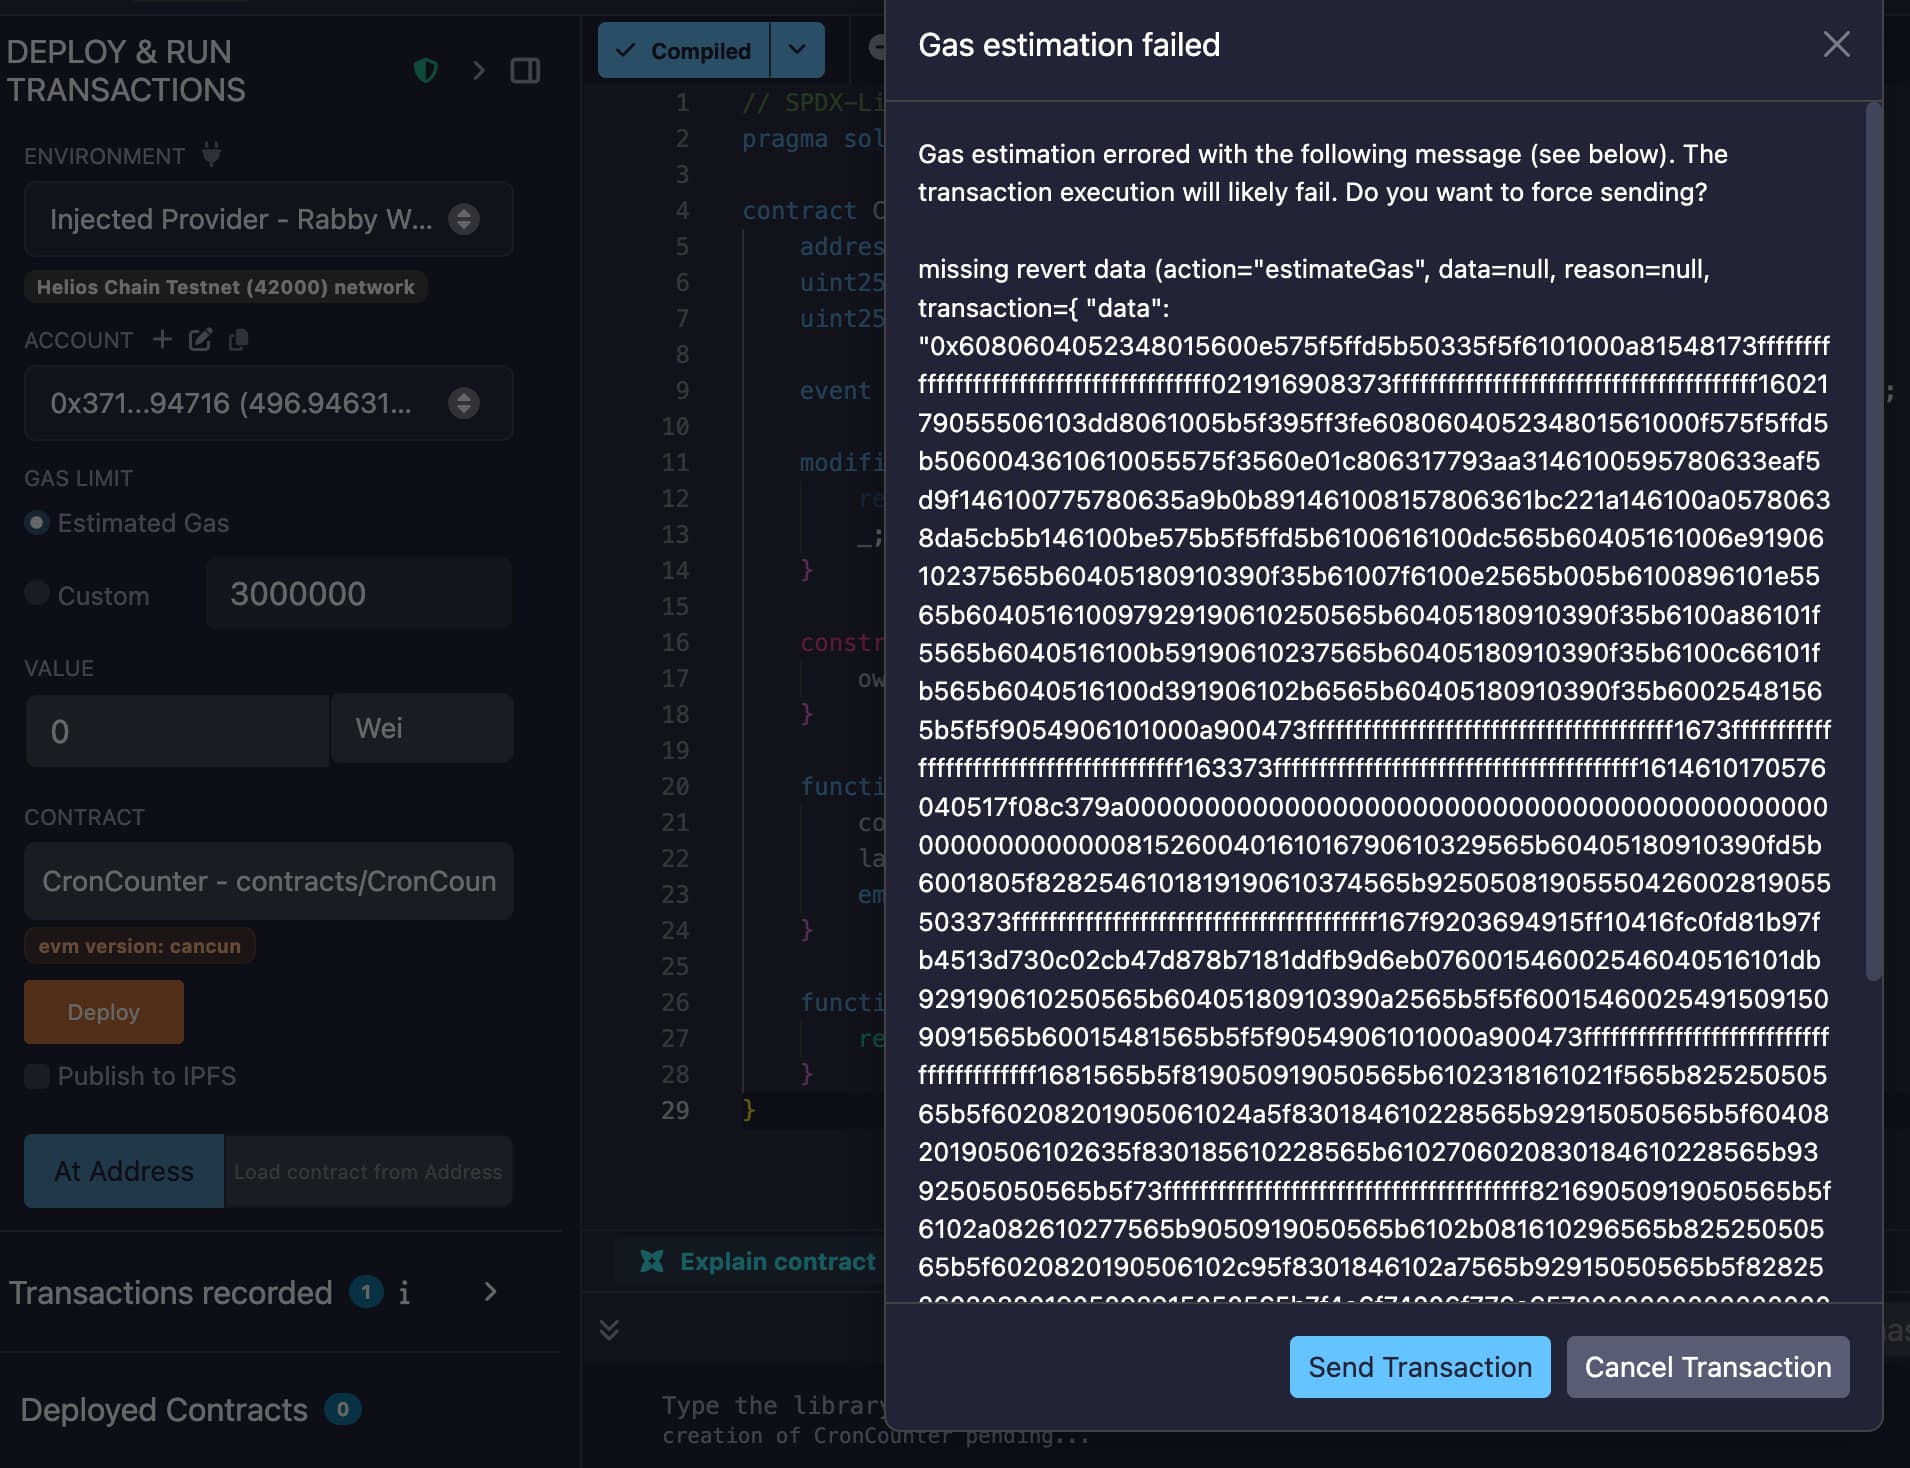
Step 3: Deploy the Contract
- Switch to Deploy & Run Transactions
- Select Injected Provider - Metamask (works with Rabby, Brave, Taho, etc. too)
- Click Deploy
- Copy the deployed address from the terminal (we’ll need it later)
(Link to picture 3 in the replies)
(Link to picture 4 in the replies)
Step 4: Create the Cron Script Locally
We’ll now prepare the script that registers your deployed contract with the Helios Chronos Cron precompile. This will automate regular execution of your tick() function.
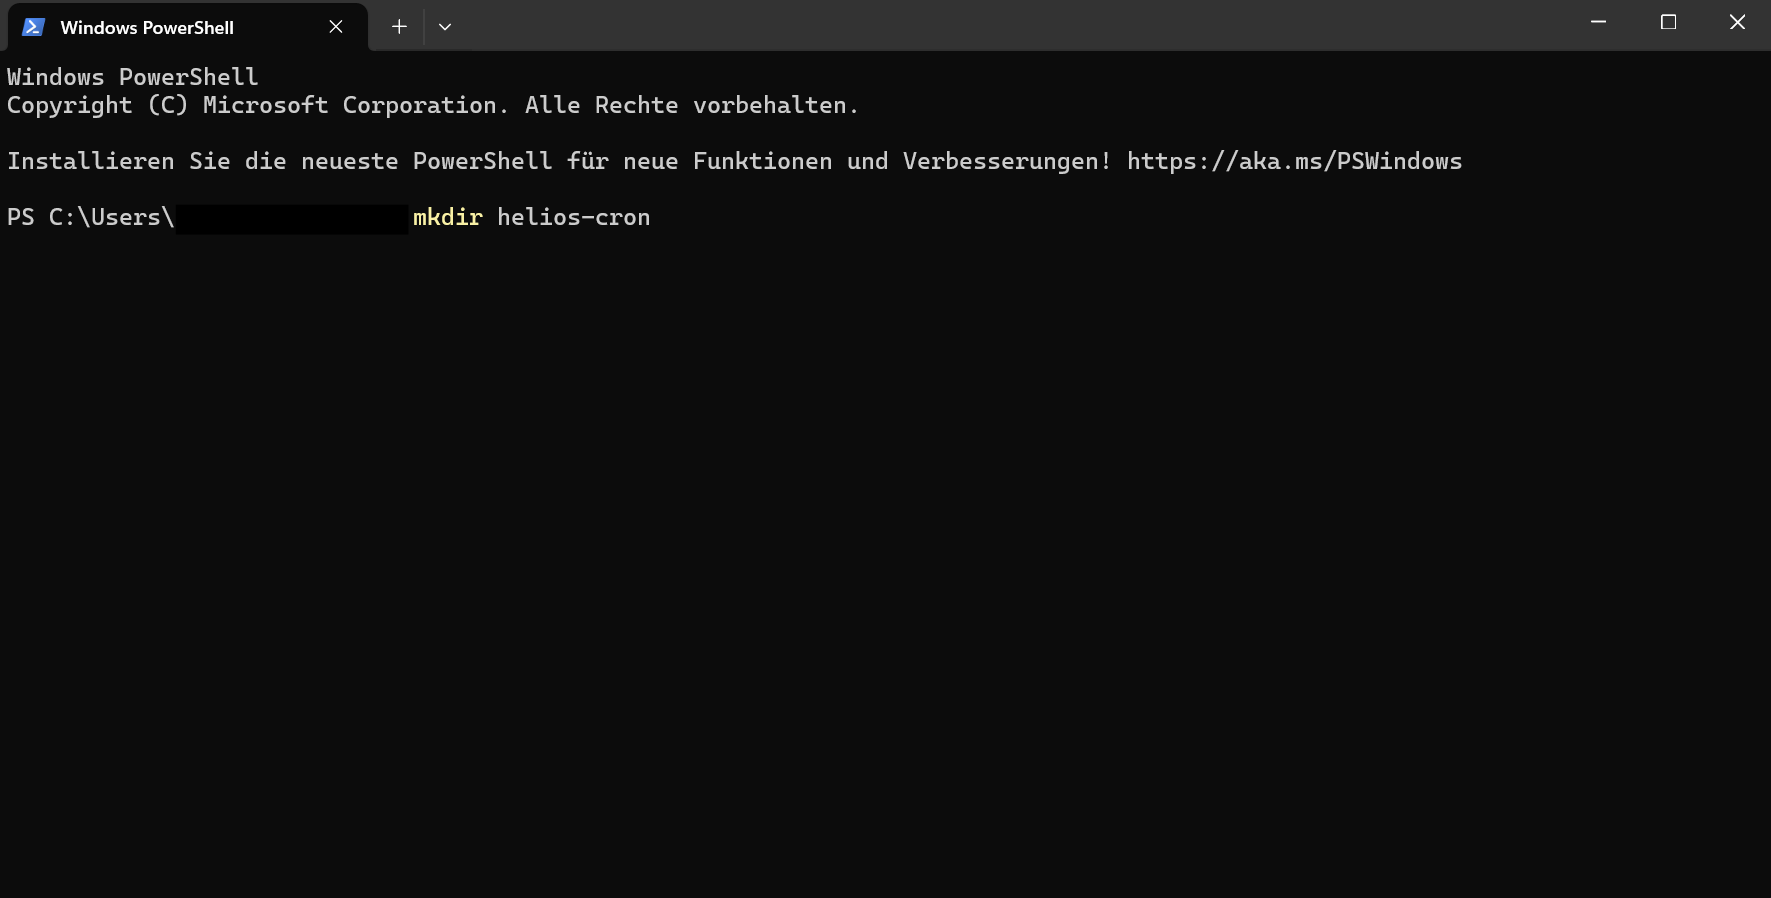
Create a Local Folder & File
Open a terminal (e.g. PowerShell, Terminal, CMD) and run the following commands:
mkdir helios-cron
cd helios-cron
touch cron-counter.js
This will create a new folder named helios-cron and a file inside that folder named cron-counter.js.
(Windows users can also right-click → “New Folder” → then open a new file using VSCode or Notepad and save as cron-counter.js inside.)
Step 5: Write the Cron Script
Now we’ll add the JavaScript logic that connects to your deployed smart contract and registers it with Helios Chronos Cron.
This script will:
- Connect to the blockchain using your private key
- Use the Cron Precompile to schedule execution of the
tick()function
(And again the Disclaimer: I’m not a developer myself, so many of you will probably build something much more powerful than this! ![]() But I hope this simple example helps you get started with Chronos.)
But I hope this simple example helps you get started with Chronos.)
Open your cron-counter.js f.e. in Editor / VS-code etc. and add your code or use this:
const { ethers } = require("ethers");

// Replace with your deployed contract address!
const TARGET_CONTRACT = "0xYourContractAddressHere";

// Replace with your PRIVATE KEY (starting with 0x...)
const PRIVATE_KEY = "0xYourPrivateKeyHere";

const provider = new ethers.JsonRpcProvider("https://testnet1.helioschainlabs.org");
const wallet = new ethers.Wallet(PRIVATE_KEY, provider);

const CRON_ADDRESS = "0x0000000000000000000000000000000000000830"; // Helios Cron precompile

// ABI containing just the 'tick' function
const targetAbi = JSON.stringify([
  {
    name: "tick",
    type: "function",
    inputs: [],
    outputs: [],
    stateMutability: "nonpayable"
  }
]);

// ABI for the Cron precompile
const cronAbi = [
  {
    "inputs": [
      { "internalType": "address", "name": "contractAddress", "type": "address" },
      { "internalType": "string", "name": "abi", "type": "string" },
      { "internalType": "string", "name": "methodName", "type": "string" },
      { "internalType": "string[]", "name": "params", "type": "string[]" },
      { "internalType": "uint64", "name": "frequency", "type": "uint64" },
      { "internalType": "uint64", "name": "expirationBlock", "type": "uint64" },
      { "internalType": "uint64", "name": "gasLimit", "type": "uint64" },
      { "internalType": "uint256", "name": "maxGasPrice", "type": "uint256" },
      { "internalType": "uint256", "name": "amountToDeposit", "type": "uint256" }
    ],
    "name": "createCron",
    "outputs": [{ "internalType": "bool", "name": "success", "type": "bool" }],
    "stateMutability": "nonpayable",
    "type": "function"
  }
];

async function main() {
  const contract = new ethers.Contract(CRON_ADDRESS, cronAbi, wallet);
  const currentBlock = await provider.getBlockNumber();

  const frequency = 300; // call every 5–6 minutes (~every 300 blocks)
  const expiration = currentBlock + 201600; // valid for 2 weeks
  const gasLimit = 300_000;
  const gasPrice = ethers.parseUnits("2", "gwei");
  const deposit = ethers.parseEther("0.02");

  const tx = await contract.createCron(
    TARGET_CONTRACT,
    targetAbi,
    "tick",
    [],
    frequency,
    expiration,
    gasLimit,
    gasPrice,
    deposit,
    {
      gasLimit: gasLimit + 50_000,
      gasPrice
    }
  );

  console.log("📨 TX Hash:", tx.hash);
  await tx.wait();
  console.log("✅ Cron job registered!");
}

main().catch(console.error);
What does this Cron job actually do?
Once the script is executed, it tells the Helios Cron Precompile to call the tick() function of your contract automatically on a set schedule.
tick()increments a counter and logs the timestamp.- This helps demonstrate that on-chain automation via Cron works as expected.
- No server, backend, or manual interaction needed, it’s all on-chain.
Perfect for learning how Helios automates contract execution!
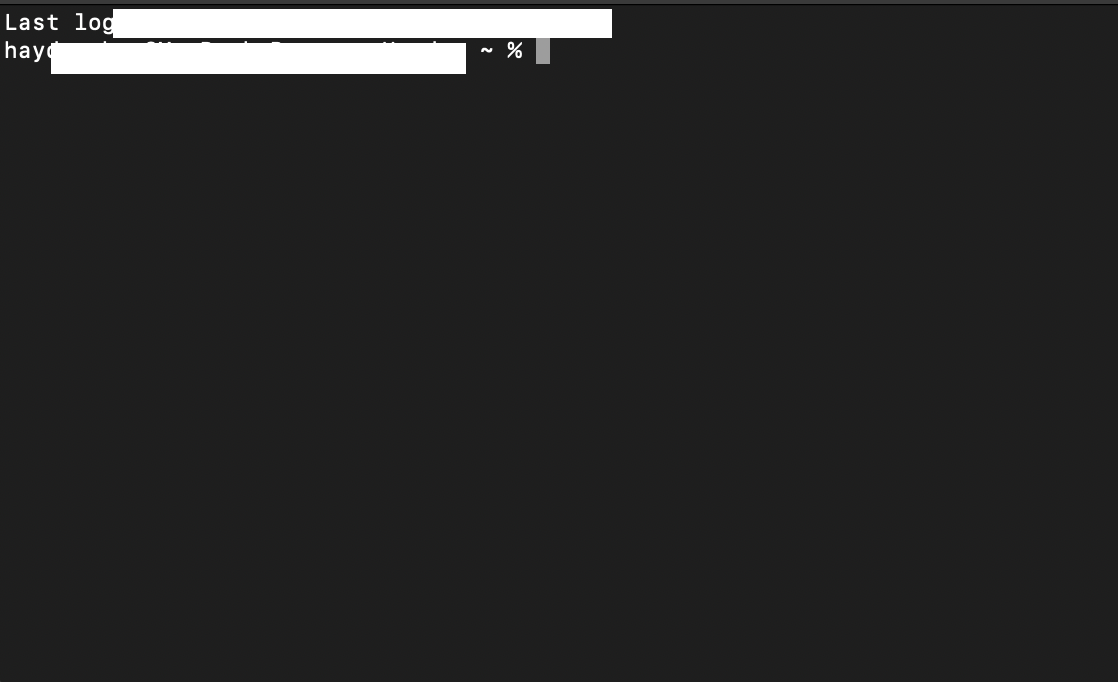
Step 6: Run the Cron Script
Now that your script is ready, it’s time to execute it and register your contract with Helios Cron.
Register with Cron
Open your terminal (e.g. PowerShell, Terminal, CMD), make sure you’re in the right folder (helios-cron) and run:
node cron-counter.js
You might need to give PowerShell permission to execute Node.js scripts (only once):
Set-ExecutionPolicy -Scope CurrentUser RemoteSigned
And if you’re not already in the right folder::
cd helios-cron
Once executed, the script will register your contract with the Cron precompile.
If successful, your terminal will display a transaction hash and confirmation like:
📨 TX Hash: 0x...
✅ Cron job registered!
- Note: The
tick()function will now be called automatically every ~60 minutes (≈ 300 blocks on Helios testnet).
Done! What’s next?
With this guide, you’ve successfully completed two quests:
- Deploy a Smart Contract
- Register a Cron Job using Chronos
I hope this walkthrough helps anyone who got stuck on the Chronos quest (just like I did at first ![]() ),
),
or inspires others to create beginner-friendly tutorials, so we can grow together as a community. ![]()
Huge thanks to the Helios dev team for all your hard work, and to everyone contributing to the testnet.
Happy Cron-ing!
Made by @erio